Real Estate & Construction
Whether you’re considering a major retrofit of a period property, planning a self-build from scratch, or exploring commercial-to-residential conversion opportunities, the real estate and construction sector offers immense potential—and equally significant pitfalls. Understanding the fundamentals before you begin can mean the difference between a profitable, satisfying project and a costly, stressful ordeal that drags on for months beyond schedule.
This comprehensive resource introduces the core areas every property developer, homeowner, and investor needs to master: energy-efficient retrofitting without damaging heritage character, managing complex builds without professional project management experience, navigating planning permission and permitted development rights, choosing modern construction methods like timber frame, assessing land potential before purchase, vetting builders to avoid rogue traders, and ensuring your property meets all safety and compliance standards. Each section connects practical advice with real-world challenges, giving you the foundation to tackle your property project with confidence.
Understanding Modern Property Retrofitting
Retrofitting older homes to meet contemporary energy standards represents one of the most challenging yet rewarding aspects of property development. The goal isn’t simply to reduce energy bills—it’s to create a thermally efficient, healthy living environment while preserving the architectural features that give period properties their character and value.
The Moisture Balance Challenge
Old buildings were designed to breathe. Traditional lime mortar, solid brick walls, and wooden sash windows allow moisture to move through the structure naturally. When you seal up these properties too aggressively with modern airtight measures, you can inadvertently trap moisture inside, creating the perfect conditions for black mould growth within months.
Think of it like putting a plastic bag over a plant—the condensation has nowhere to escape. Successful retrofitting requires a carefully balanced approach: improving insulation and airtightness while maintaining adequate ventilation through mechanical ventilation systems or carefully designed passive airflow.
Strategic Insulation Sequencing
Many homeowners waste money by insulating in the wrong order. The most effective sequence typically follows this principle: start where heat loss is greatest and where intervention offers the best return on investment. For most properties, this means:
- Loft and roof insulation (heat rises, making this the priority)
- Floor insulation (particularly suspended timber floors over unheated voids)
- Wall insulation (the most complex and expensive, tackled last)
This sequencing also helps you spread costs over time and observe how each intervention affects your heating bills and comfort levels before committing to the next phase.
Exterior Insulation and Property Value
External wall insulation can dramatically improve thermal performance, but it can also devalue period properties if applied insensitively. Covering original brickwork with render systems changes the character of Victorian terraces, Edwardian semis, and Georgian townhouses. In conservation areas, planning permission may be refused entirely.
The alternative—internal wall insulation—is more disruptive and reduces room sizes slightly, but preserves the external appearance that gives period properties their market appeal. The choice requires balancing thermal performance, planning constraints, budget, and future resale value.
Self-Build Projects: From Vision to Reality
Self-build projects offer the tantalizing possibility of creating exactly the home you want while potentially saving significant sums—commonly cited figures suggest savings of 20-25% compared to buying an equivalent finished property. However, these projects also represent a masterclass in project management, requiring you to coordinate multiple trades, manage cash flow, and navigate building regulations without the safety net of a main contractor.
Why Budgets Spiral and How to Prevent It
Industry data consistently shows that most self-builds exceed their initial budgets by around a quarter. The reasons are predictable: scope creep (upgrading specifications mid-project), poor contingency planning, delayed deliveries causing expensive downtime, and optimistic initial estimates that don’t account for ground conditions or design changes.
Protection comes from rigorous planning. Fix your specification before breaking ground. Include a realistic contingency fund of 15-20% for genuine unforeseen issues. Create a detailed schedule with critical path analysis, so you understand which delays will halt the entire project versus which tasks have flexibility.
The Monday Morning Site Meeting
When you’re managing your own build, regular site meetings become your primary control mechanism. A well-run Monday morning meeting lasting 30-45 minutes keeps all trades aligned, prevents conflicts over workspace or sequencing, and surfaces problems before they become crises.
The agenda should cover: work completed last week, work planned this week, any delays or issues affecting the schedule, upcoming material deliveries, and health and safety concerns. Documenting decisions and distributing minutes by Monday afternoon ensures everyone knows exactly what’s expected.
Professional Support: Architect vs Architectural Technologist
Many self-builders agonize over whether they need a full architect or can use an architectural technologist for planning drawings. The practical answer depends on your project’s complexity and your aesthetic ambitions.
Architects excel at design vision, problem-solving unusual sites, and creating buildings with architectural merit. Architectural technologists focus on technical detailing, building regulations compliance, and translating functional requirements into buildable plans. For a straightforward family home on a standard plot, a technologist often represents better value. For a challenging site or a design-led project, an architect’s expertise justifies the higher fee.
Unlocking Value Through Permitted Development Conversions
Permitted development rights have opened lucrative opportunities to convert commercial buildings into residential units without full planning permission. Office blocks, retail units, and light industrial buildings in town centers can be transformed into flats, often offering higher yields than equivalent new-build investments due to lower acquisition costs and faster conversion timelines.
The key to success lies in understanding that ‘permitted development’ doesn’t mean ‘no permission required’—it means you need prior approval from the local planning authority on specific matters like transport, contamination, flooding, and noise. Submitting a well-prepared prior approval application that anticipates the council’s concerns significantly increases your chances of acceptance.
Different building types present different challenges. Office conversions (Class E to C3 under current regulations) are generally straightforward, with good natural light and simple floor plans. Retail unit conversions face tougher scrutiny, particularly around noise from surrounding commercial uses and adequate sound insulation between units. A failed noise assessment can stop your conversion completely, so commissioning professional acoustic surveys early is essential.
Savvy investors actively seek distressed commercial assets—buildings with long vacancy periods, unmotivated sellers, or locations where commercial values have declined but residential demand remains strong. Buying at the right price creates the margin that absorbs conversion costs while still delivering profitable exit values.
Timber Frame Construction: Speed Meets Efficiency
Timber frame construction has evolved from a niche building method to a mainstream choice for extensions, self-builds, and even complete housing developments. The appeal is straightforward: speed of construction, superior thermal performance, and predictable costs.
A timber frame extension can be fabricated off-site to precise measurements, then erected in days rather than weeks. Modern closed-panel systems arrive with insulation already fitted between the studs, windows installed, and even external cladding attached. This means your project reaches the weathertight stage in as little as five days, protecting the interior from weather damage and allowing interior trades to begin immediately.
The thermal advantage comes from wall thickness. Timber frame walls achieve the same insulation values as traditional masonry with approximately 30% less thickness, because timber studs accommodate insulation more efficiently than cavity walls filled with insulation batts. This saves space—particularly valuable when building on tight urban plots or adding extensions where every centimeter counts.
Two concerns frequently surface: fire risk and weather protection. Modern timber frame construction in residential buildings incorporates fire-resistant boarding and cavity barriers that meet all building regulation requirements—the timber is protected, not exposed. The weather protection concern is valid but manageable: timber frames must be wrapped in a breathable membrane and protected from prolonged rain exposure during construction, particularly before the roof is completed. Experienced timber frame contractors schedule work around weather forecasts and use temporary coverings to prevent moisture ingress.
Planning permission can be more challenging in areas with traditional brick or stone vernacular. Officers may resist timber cladding even when the internal structure is timber frame. Success depends on demonstrating how your external finish complements the streetscape—render, brick slips, or painted boarding can all be applied to timber frame structures to match local character.
Land Assessment and Planning Permission Strategies
The foundation of any successful development project is acquiring the right plot at the right price. This requires systematic assessment before you make an offer, because planning restrictions, ground conditions, and access constraints can transform an apparently attractive site into an unbuildable money pit.
Plot Potential Assessment
Visual inspection tells you about topography, existing structures, and neighborhood character, but it won’t reveal contamination, underground services, restrictive covenants, or planning policy constraints. A thorough assessment includes:
- Title deed review to identify covenants, easements, and rights of way
- Local plan policy review to understand zoning and density expectations
- Statutory utility searches to map underground services
- Preliminary ecological survey if the site contains mature vegetation or potential protected species habitats
The Value of Soil Surveys
A Phase 1 soil survey is a desk-based assessment that reviews historical maps, environmental databases, and site usage to identify potential contamination risks. It’s relatively inexpensive—typically a few hundred pounds—but can save you from catastrophic losses.
If the site previously housed a petrol station, dry cleaner, industrial works, or even Victorian-era market gardens (which often used arsenic-based pesticides), contamination is possible. Remediating contaminated land can cost tens of thousands of pounds, wiping out your development margin entirely if you didn’t account for it in your offer price.
Pre-Application Advice: Testing the Water
Local planning authorities offer pre-application advice services where you can present your design concept before submitting a formal application. This costs a fee but provides invaluable insight into whether your vision aligns with planning policy and officer expectations.
The key is asking the right questions: Would you support a detached house or would two semi-detached homes be more appropriate for this plot? Does the ridge height comply with your guidelines? Are there any local design codes or neighborhood plans we should reference?
Adjusting your design based on this feedback dramatically increases your approval chances and avoids the wasted time and expense of refused applications.
Selecting and Managing Reliable Builders
The relationship with your main contractor or individual tradespeople will define your project’s success more than any other factor. A skilled, reliable builder can deliver quality work on time and on budget. A rogue trader can vanish mid-project, leaving shoddy workmanship, safety hazards, and you facing legal action from neighbors or building control.
Vetting begins with research beyond badges and memberships. Federation of Master Builders (FMB) membership, while useful, isn’t a guarantee—it indicates the builder paid the membership fee and met basic entry criteria, not that they’re competent or honest. More valuable indicators include:
- Recent project references you can visit in person
- Public liability and employer’s liability insurance certificates
- Companies House records showing financial stability
- Local authority building control history (some councils will indicate if they’ve had problems with specific traders)
The first meeting reveals behavioral red flags: excessive pressure to sign immediately, reluctance to provide written quotes, inability to explain how they’d handle specific aspects of your project, or dismissive attitudes toward building regulations. Trust your instincts—if something feels wrong, it usually is.
Financial protection comes from the payment schedule. Never pay large sums upfront, regardless of the reason given. Structure payments as stage payments tied to completed, inspected work: foundation completion, walls to plate height, weathertight, first fix, second fix, completion. Retain 5-10% for 30 days after completion to cover snagging.
Understand the difference between an estimate and a fixed quote. An estimate is the builder’s best guess and can increase. A fixed quote (also called a fixed-price contract) locks in the price for specified work. For any project over a few thousand pounds, insist on a detailed, fixed-price quotation based on complete specifications.
Property Compliance and Safety Inspections
For landlords and property investors, compliance with gas safety, electrical safety, and energy performance regulations isn’t optional—it’s a legal requirement with serious penalties for non-compliance, including criminal prosecution and invalidated insurance.
An Electrical Installation Condition Report (EICR) must be conducted every five years for rental properties, or at change of tenancy. The inspection tests the installation against current safety standards and identifies defects categorized by urgency. A C1 (danger present) or C2 (potentially dangerous) code means you cannot legally rent the property until remedial work is completed and re-inspected.
Pre-checking helps avoid failure. Before booking your EICR, look for obvious issues: scorch marks around outlets, burning smells, circuit breakers that trip frequently, or outdated fuse boxes. Addressing these proactively often costs less than emergency remedial work after a failed inspection.
Gas safety checks are even more critical because the consequences of failure are immediate and potentially fatal. Missing your annual Gas Safe inspection can result in prosecution, fines up to £6,000, and—if an incident occurs—manslaughter charges. The inspection must be carried out by a Gas Safe registered engineer, and the certificate provided to tenants within 28 days of completion.
The temptation to use cheap inspectors is understandable but dangerous. Underqualified or dishonest inspectors may pass unsafe installations to secure repeat business, or conversely, fail installations unnecessarily to generate remedial work for themselves. Verify credentials independently, check online reviews carefully, and consider using inspectors recommended by landlord associations or reputable letting agents.
Minimizing tenant disruption requires strategic scheduling. Book inspections for tenancy turnover periods when possible. If inspecting occupied properties, provide proper notice (typically 24 hours), offer flexible appointment times including evenings, and clearly explain why the inspection is necessary and how long it will take. Respectful communication transforms a legal obligation into an opportunity to demonstrate that you’re a responsible, professional landlord.

How to Pass EICR and Gas Safety Inspections First Time: A Landlord’s Guide to Risk Mitigation
In summary: Treating safety compliance as a proactive risk management function, not a reactive task, is essential to avoid catastrophic legal and financial penalties. Implementing pre-inspection visual audits for both gas and electrical systems can identify a majority of potential…
Read more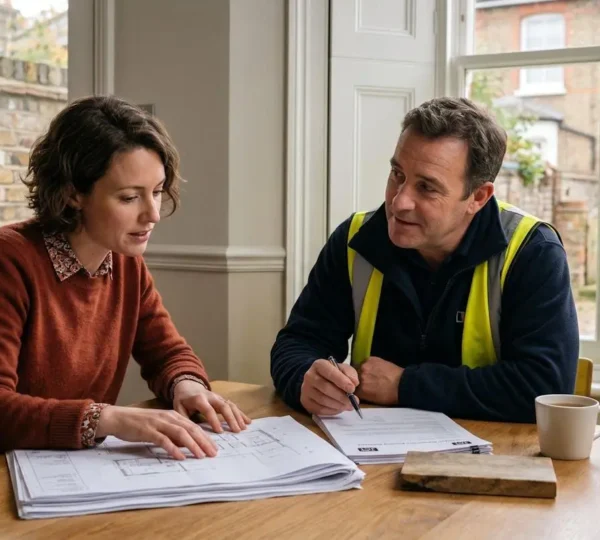
The Definitive Guide to Vetting UK Builders and Dodging the Cowboys
Thinking a trade badge and a good quote means you’re safe? That’s the first mistake. A builder’s true competence is revealed not by their accreditations, but by the rigour of their paperwork and the questions they ask you. The structure…
Read more
How to Assess a Plot’s Potential Before Making an Offer?
Assessing a plot is not about the view; it’s a forensic investigation to uncover the hidden financial and legal traps that can render it worthless. The most critical risks, such as soil contamination and restrictive covenants, are invisible and can…
Read more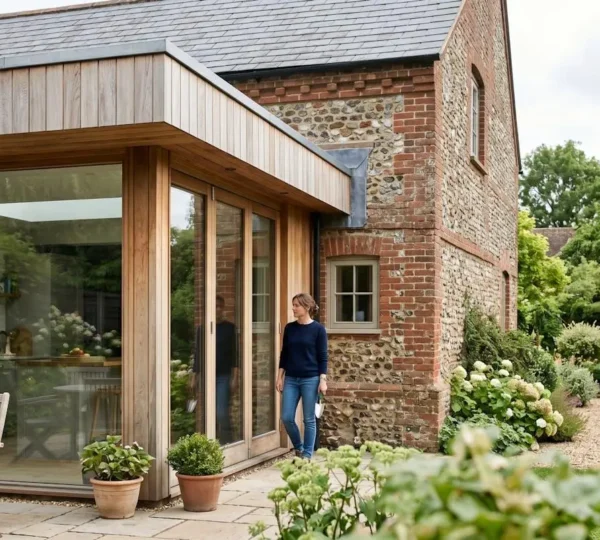
Why Choose a Timber Frame Extension Over Traditional Masonry?
Choosing a timber frame isn’t just about speed; it’s about gaining more usable, energy-efficient living space from a smarter, engineered system. Timber frame walls are up to 30% thinner than masonry for the same insulation level, directly adding to your…
Read more
How to Convert a High Street Shop into a Flat Using Class MA Rights?
Class MA permitted development is more than a planning shortcut; it’s a strategic test of a project’s real-world viability, where profit lies in pre-emptively solving noise, light, and layout issues before application. Success hinges on moving beyond a checklist approach…
Read more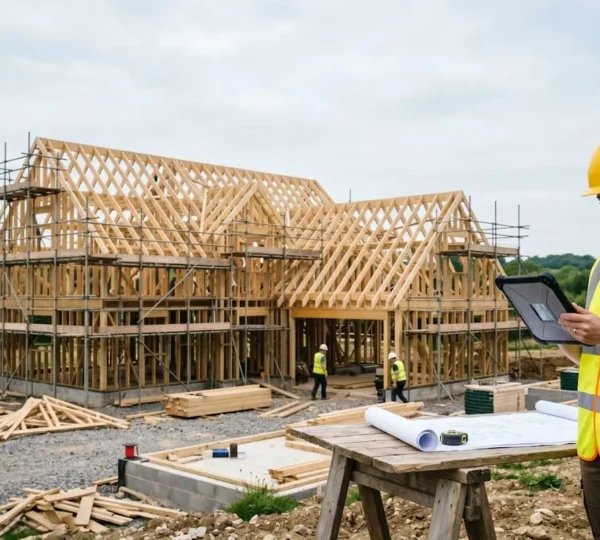
How to Project Manage Your Own Self-Build and Systematically Save 20% on Costs
Saving 20% on your self-build is not about finding cheaper trades; it’s about imposing the rigorous financial and operational discipline of a commercial construction site on your project. Budget overruns are not random; they are a systemic failure caused by…
Read more
How to Retrofit a Victorian Terrace to EPC C Without Losing Character?
The key to a successful Victorian retrofit is not sealing the building airtight, but enhancing its natural ability to breathe and manage moisture. Using modern, non-breathable materials often traps moisture, leading to damp, mould, and structural decay. A “fabric-first” approach…
Read more